How to Make Jewelry With Loose Gemstones (Ultimate Guide!)
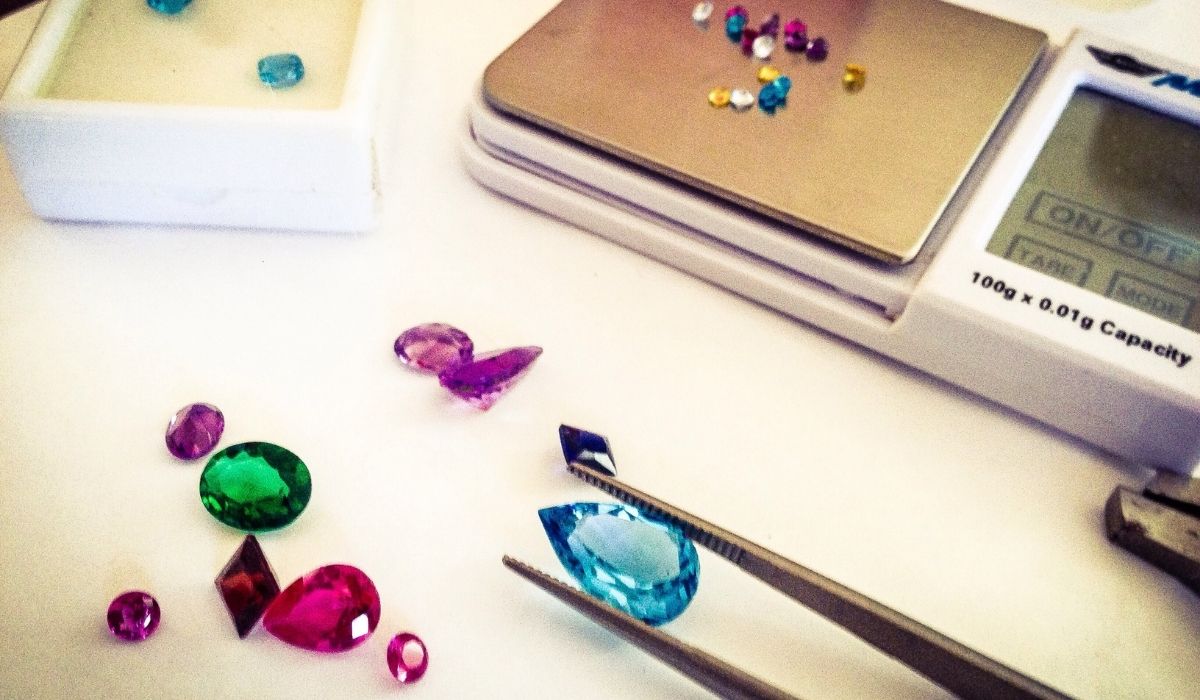
Whether you fetched them from a flea market, an eclectic mom-and-pop shop, or stuffed them into your pockets after a hard day at the local emerald mine, you’ve got some miscellaneous gemstones laying around. That’s great! You can save yourself a small fortune on the upcharge jewelers pay for premade jewelry and learn a valuable and profitable skill that can serve you long after this article.
Whether it be through the meticulous and rewarding practice of stone setting or by using a more simple wire wrap, you have plenty of options when it comes to do-it-yourself jewelry. By the conclusion of this article, you will be comfortable in whatever style of necklace, ring, or bracelet you decide to make!
Wire-Wrapping Guide
Easily one of the most accessible and cheap ways to make jewelry for someone first starting out is wire-wrapping.
Wire-wrapping is the method in which a gemstone is carefully enveloped in gold, silver, or copper wire, and is typically used for necklaces, though not exclusively.
Picking Your Wire
First things first, you need to decide what material you are going to use for your future masterpiece. According to the AWG (American wire guide) chart, the sizes of a wire range from 10-gauge and end at 32-gauge. The lower the number of the gauge, the thicker it will be. So if you are looking for a very thin wire, you should go high.
Rest assured that these wires come in a variety of different hues that should match whatever mental image you have in your head of what you want your personal piece to look like.
The rigidity of your wire is also an aspect that you have some control over. There are three categories that any wire will fall under in terms of stiffness.
- Dead soft is typically the ideal choice in jewelry for anyone just getting into wire-wrapping as it is without question the most malleable wire you can purchase. If you are brand new to wire-wrapping this is highly recommended.
- Half hard splits right down the middle as it has a bit more of a stubborn streak than dead soft, though can be more appropriate than its predecessor for jump rings, links, and other connective wiring.
- Hard wire is not likely going to give you the bang for your buck as it is very rarely used by jewelers.
Wrapping a Gemstone
You don’t need to rip apart the nearest tool shed to begin wire-wrapping. While any hobby tends to grow in terms of tools of the trade, you can start out small.
Get yourself a ruler, a wire cutter, and round-nose and chain-nose pliers. If you want to spring for a more extensive collection later, perhaps invest in a mallet and a few mandrels.
There are more designs and methods to wrapping a gemstone than I can count on both hands and feet, but this is a simpler method to help you get started!
- Cut off two wires with one foot of length for each of them.
- Lay them parallel to each other, then begin to wrap the middle of the wires around each other three times. You should see three full wraps between the conjoined wires.
- Just underneath where the wires meet, place your gem of choice between the two wires until each strand wraps around the lower base of the gem.
- Now that one side of the gem has the wrapped wires alongside it, begin wrapping the opposing side until it also has three equal wire-wraps with a small opening between the parallel wire-wraps where the gem should be cradled at its base.
- Above the now parallel wire wraps, cross the exposed wires to the opposite side of the stone, until you can begin wrapping the crossing wires on both sides of the middle of the gemstone.
- Be sure to try and keep the stone securely in place and snug in the cradle of the wire as this will keep it tight once the wrap is complete.
- Continue crossing the wires and wrapping them three times until the entirety of the gem is enclosed in a tight basket of wiring.
- With the remaining end of the wire, create a loop and wrap it underneath (two to three times) to keep it secure and just above the stone, as this will be where you connect it to a necklace or bracelet should you choose to.
Congratulations, you’ve just made your very own wire-wrapped gemstone! If you find the aesthetic of this wire-wrap design not to your liking, don’t fret! There are a million different ways you can dress up a gemstone in wire, and that doesn’t even cover stone-setting.
Stone Setting Guide
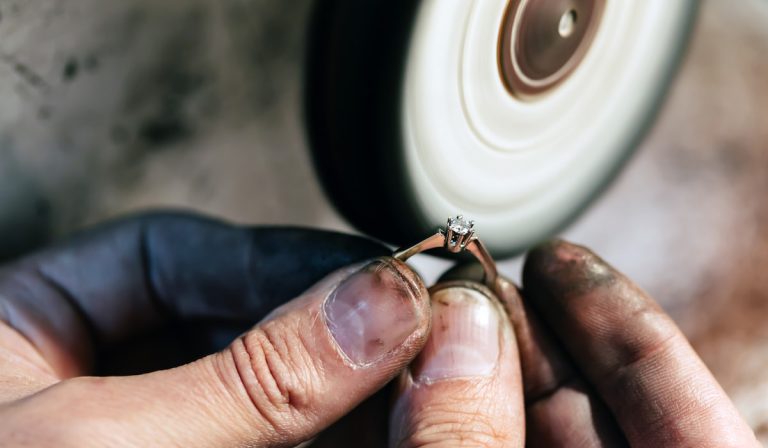
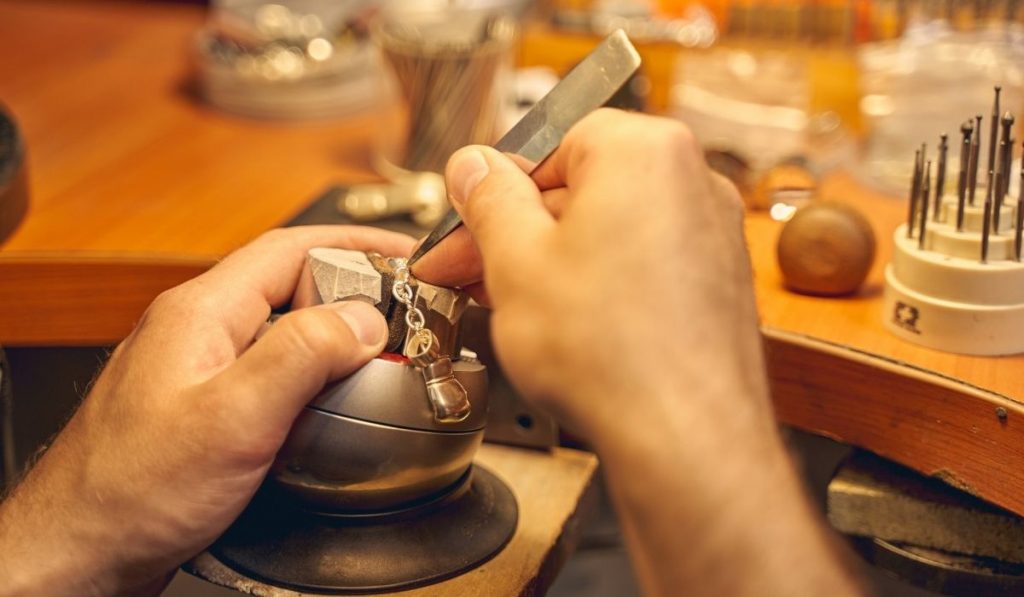
Stone setting is the skillful craft of placing a gem, mineral, or stone into a secured display (ring, pendant, etc) that helps the gemstone stand out. This was once something done exclusively by jewelers already in the field. But now it is something you can do from the comfort of your own home office!
The Basics of Setting a Stone
A well-set gemstone is a work of art, to put it simply. There is a skill required in the craft and with skill comes difficulty. So in the interest of helping folks brand new to setting a stone, I will be showing a very beginner-friendly method to get you accustomed to it.
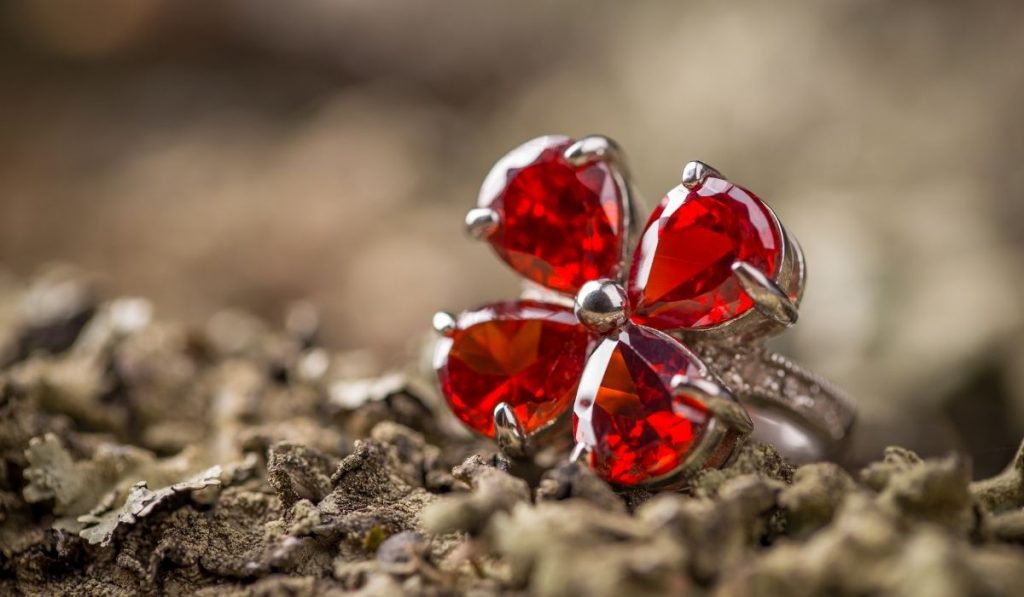
There are a number of different types of stone settings: channel, claw, grain, pave, illusion, bezel, tension, and flush settings. The claw or prong is the most common and typically seen on wedding rings, it is also the easiest to begin with for aspiring enthusiasts.
Snap-Tite Settings
It likely doesn’t get any easier than a snap-tite setting and for some, this may seem a bit too simple, but if you are looking for the easiest method from gemstone to jewelry this will be your best bet.
When getting a snap-tite, you will want to make sure that the size matches the size of your stone.
- You will want to place the gemstone on its flattest side, also known as its crown, against a non-abrasive surface.
- Get the snap-tite mount and hold it just above the exposed side of your gemstone
- Using a careful amount of force, push down on the mount until you hear an audible click, which as the name suggests, will snap the gemstone into place.
- Check to make sure that the gem is comfortably underneath all evenly distributed prongs.
- If the size of the mount is off then you may need to use pliers to set the gemstone in.
Snap-tites should only be used on harder stones. Anything above an 8 on the Moh’s hardness scale should be sufficient. Softer stones may crack as you set them.
As you can tell from the multitude of different ways you can place a gemstone into a setting, you can set a stone in several different styles. Don’t limit yourself to one or two methods if you have a passion for it, get creative!
Conclusion
Outside of the curious newcomer looking for a hobby, there are several reasons to make your own jewelry. You can not only save your hard-earned cash by making stylish necklaces and bracelets yourself, but you can also turn a profit if you are so inclined.
Don’t fall into the consumer trap of spending half a paycheck on a necklace that almost fits the idea you had in your head. If you’ve already got the gemstones (or even if you don’t), spend twenty dollars in wire and pliers and save yourself the trip!