How to Make Laser Cut Earrings (Complete Procedure!)
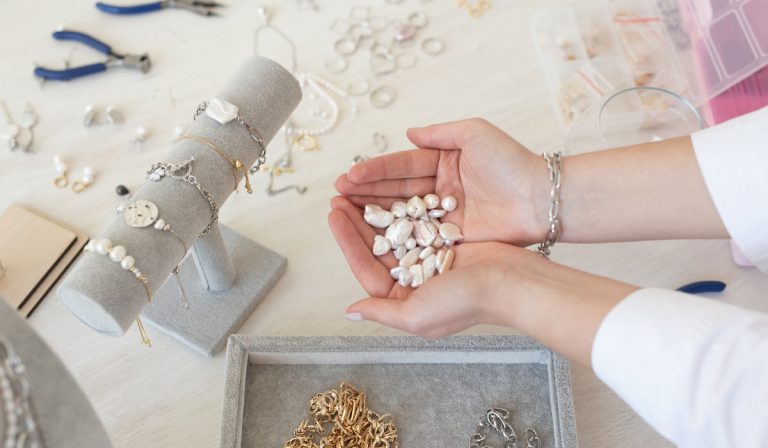
Thinking of opening your own Etsy shop? Love making jewelry and want to try earrings? Or maybe you already make earrings and you want to try out a new method?
Well, laser-cut earrings are a great option to explore because they are quick, simple, and very satisfying to make!
In this article, we’ll explore the entire process of making these earrings, from creative conception to on-the-hook-hanging-up to be sold! We’ll talk about where to design your idea, what machines, tools, and brands to use, and more.
Step 1: Design
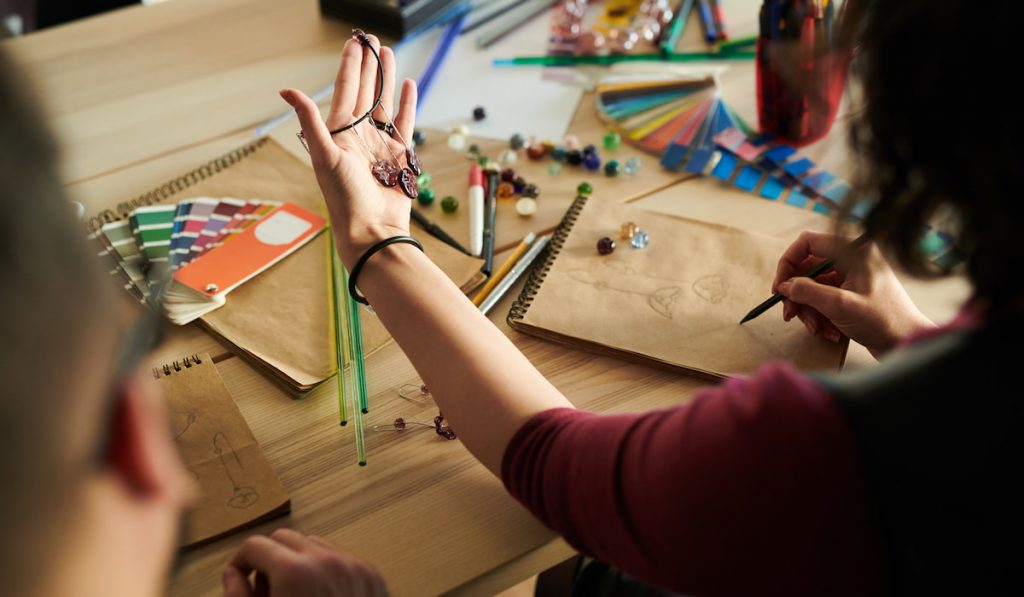
You’ll need to create a design sketch of your idea for what the earrings will look like. This can be originally on paper if you wish, but ultimately you will need to design it on the computer to send it to the laser-cutting machine.
One great design tool is Inkscape. It is completely free, including download, use, and distribution. On it, you can graphically design any product, including earrings!
It can take your sketch and put it into a professional design that can be published electronically or turned into a physical product.
There are a couple of different methods of creating a design for your earrings. If you are lacking your own inspiration, use a free stencil or outline online and save it to your computer. From there, you can upload it to Inkscape.
Now you need to create a second copy of this image. Select the icons PATH, then TRACE Bitmap. Then, to produce the image, press Update. Last, press OK but make sure you only do it once, or it will mess everything up!
You can delete the original image of the stencil now. Typically, the original images are blurry when you zoom in, which will make the laser-cutting less precise. Once you delete the first image, press X at the page bottom, and on the black box right-click. Select Set Stroke and you’re set!
The second way to design is to create your own. Using the available Inkscape shapes, you can create whatever design you long for! In order to group shapes together into one coherent design, just click on Objects and then Group Objects.
When completed, select your shape. Then click on Path and Stroke to Path. Like the first option, press X at the page bottom, on the black box right-click, and select Set Stroke. Finally, save your design as a file with “.dxf.”
Step 2: Import Your File to Your Laser’s Software, and Laser Cut!
The typical material to laser cut on is plywood. You can order it online on Amazon, or in-store at crafting stores like Home Depot.
However, you may want to test your design on a different material like foam core to ensure you like how it looks before you commit and use your invested materials.
If you want the laser to only etch a part of your design, highlight it in red, and highlight in black the part you want the laser to cut. Put the plywood you highlighted in red on the “etch” setting, and the black highlighted part on the “cut” setting. Then let the laser do its work!
Need to find a good laser printer? Don’t have one on hand? We don’t blame you, especially if you’re starting out. Who just casually has a laser printer laying around their house?
You can find ones on Amazon with reviews by customers and the actual website’s personal feelings on the product, or in-store at Best Buy and Office Depot.
Step 3: Painting or Staining Your Earrings

We wouldn’t recommend using actual paint on your plywood earrings. Paint will leave grain marks and a less professional finish than you are probably looking for.
However, there is a product called Mica that’s used for stable, bright coloring of objects such as soaps and bath bombs. It is the best colorant for your plywood earrings, which will leave long-lasting, vibrant colors and a smooth finish.
A great Mica seller is Mad Micas. They have ethically sourced mica of renowned high quality. You can get mica from sellers on sites like Amazon and it’ll come quickly and still work well.
They do not put names to the colors, so if you like one and want to buy it again it is difficult if not impossible to find the same color twice.
All right, we’ve got our mica and we’re ready to color our earrings!
First step is to get some acetate. You know what teachers use at school when they write on clear sheets with expo markers and project it onto the wall during math or whatever subject? That’s acetate. You can find it at Office Depot or another school supplies store.
Cut the acetate into small squares, larger than your earring but not too large. Then, take a spray-adhesive, such as Loctite, to stick one side of your earring (masking still on– make sure the masking is on both sides of your design, it’s very important!) to the acetate. Set them aside to dry.
Now, mix the mica with epoxy! Epoxy is a liquid adhesive. Pour a small amount into a small paper cup, then with a popsicle stick stir the epoxy until it has bubbles in it (don’t worry, the bubbles will go away– and just to make sure, you can use a heat gun.
Don’t use a blow dryer because it will push the mixture and ruin it! Heat guns have the temperature, but no airflow).
Then, add a little bit of mica to the epoxy– start small, and go from there depending on how dark you want the coloring. Stir it in until it is mixed thoroughly.
Time to fill your earrings! Take a small amount of your mixture onto your popsicle stick and let it drop into the holes of your earrings. Don’t worry if it touches the design– there’s masking so it won’t stain! If the hole overflows, simply use the popsicle stick to take it out.
Let your earrings sit for at least a day, a full 24 hours. Make sure there’s no outdoor access for bugs to get stuck in your earrings! After they’ve dried, peel off the acetate and the masking along with it. Then peel off the front masking on the other side, and voila!
Step 4: Attaching the Hardware: Jump Ring and Fish Hooks
To finish off your earrings, you’ll need to attach the “hardware,” which is the metal part that actually goes in your ear! For this, you need jewelry pliers (pliers with the points angled to the side), and earring hardware you can buy from Hobby Lobby, Michaels, or online on Amazon.
Use the pliers to open up the jump ring. Then, slip the fish hook through, followed by the earring (slip both through the jump ring). Finally, close the jump ring with the pliers and you’re done! Nice work!
Step 5: Selling Your Earrings!
To sell your earrings, the best place is really on Etsy. Etsy is a small business connoisseur, hosting thousands of small businesses for people to buy unique, hand-made crafts from. Which fits perfectly with what you’re doing right now!
Create a business profile, set up a shop, post pictures of your work, prices, and description, and sit back and let the money roll in!
Don’t worry if you’re doubting whether people will find you. People love Etsy because of how one-of-a-kind the products are. Commercial merchandise is less and less appealing– people don’t want to be wearing the same dress as someone else in the room.
You can promote your work if you wish on social media, perhaps make an account for your jewelry on Facebook and Instagram, or a website. Make sure to have quality photos that are visually aesthetically pleasing.
Use a nice background and soft, pleasant lighting. You may wish to buy a good camera, but an iPhone will do. Experiment and ask friends for opinions, or ask a friend who has a knack for staging pictures to take them for you.
If you wish to do it in person, find a jewelry convention, festival, or renaissance fair to sell your wares!
Rent a booth and get all sorts of enthusiasts at your shop– just make sure to set up your jewelry aesthetically and in a way that will make them notice you and never forget you the whole time they’re there.
You want kids begging their parents to go back and buy your earrings until the parents give in, and end up buying a pair themselves!
The Final Word
Whether you are a seasoned earring professional or a newbie, using this simple method, anyone can create quality earrings. Laser-cut earrings are a great option as they are quick, cost-effective, but still beautiful in their own way.
You will find your people, and make beautiful art to share around the world.