How to Make Jewelry With Natural Stones (Tips and Guide!)
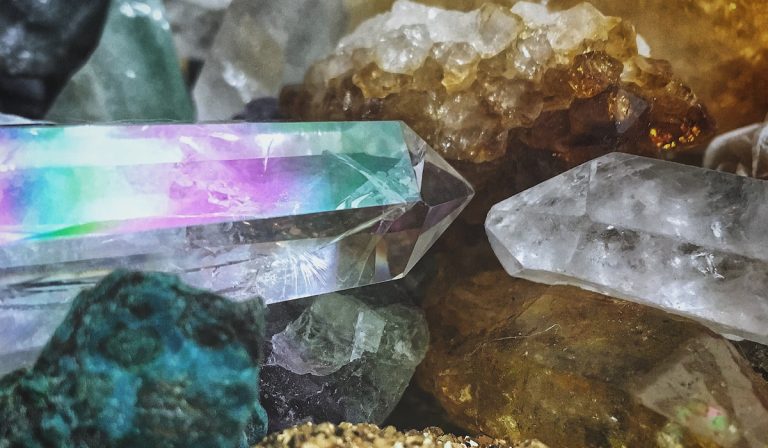
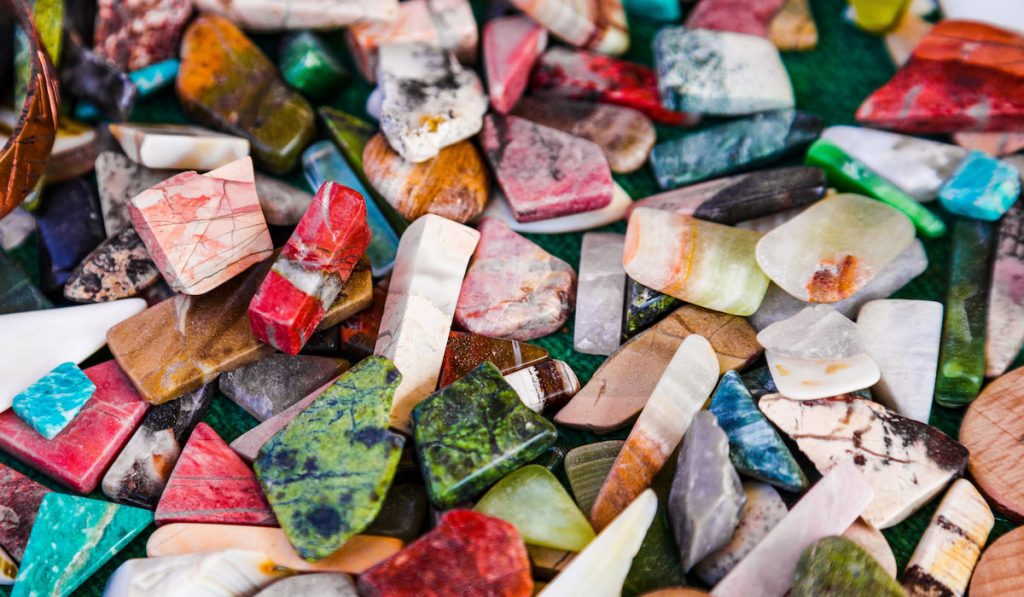
Most jewelry nowadays is made from gemstones or imitation gemstones. People ascribe value to a lot of the sparkly jewels we see, but in the end, a rock is a rock. Beauty is found in all parts of nature, and just because a stone isn’t a diamond doesn’t mean it isn’t worth wearing around your neck.
Let’s take a look at how to make jewelry with natural stones and how you can make some terrific pieces for yourself or the people you love!
Who Would Wear Natural Stone Jewelry?
Perhaps you are tired of the same gemstones on every piece of jewelry. Or maybe you found a beautiful stone out on the beach or in the woods that would look wonderful on a bracelet.
Or, maybe you’re a crafty person who wants to experiment with different types of jewelry making!
Well, stick around, and we’ll give you some options and ideas that will inspire you to run outside and find a stone so you can get creative!
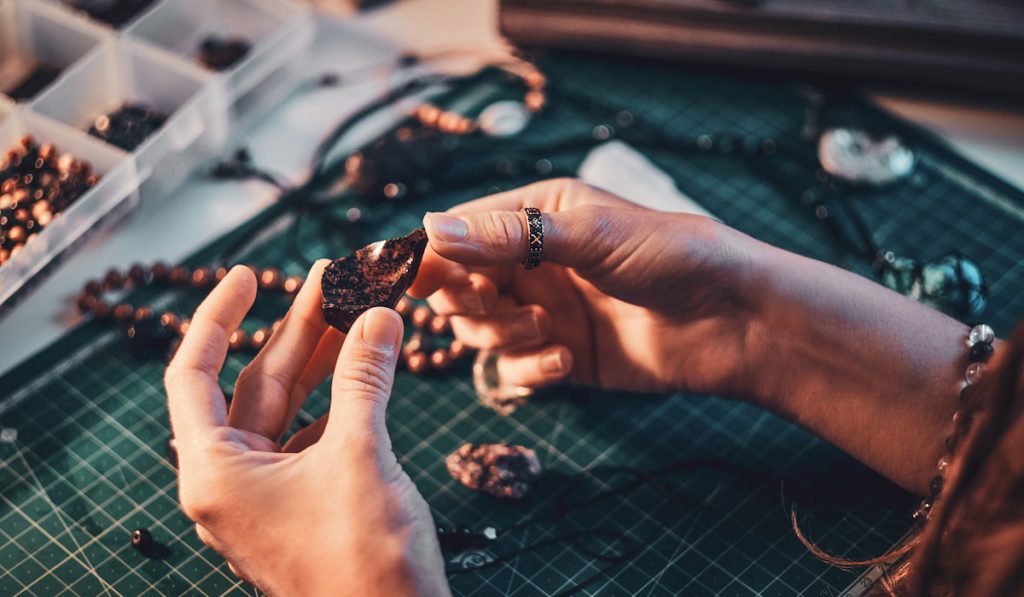
Prepping Your Stone
Back inside? Found your stone? Ready to start? All right!
First, you need to prepare your stone for display.
This really depends on your personal preference of how you want it to look on your piece of jewelry. There are several choices you have to make:
Which Side Do I Display?
Choosing which side to show the world can be easy or impossible to decide! To determine, just ask yourself these simple questions:
- Which side is smoother?
- Which side has a more defined shape?
- Which side has a prettier pattern, color, or design?
Hopefully, these questions will settle the anguishing indecisiveness and help you get on your way to jewelry-making.
Drilled or Not Drilled?
One issue with using natural stone as opposed to manufactured stones is that, obvious as it may be, there are no convenient holes drilled in for hanging.
Drilling into your stone will hold it in place much more effectively than wire wrapping. If you are hoping to simply string a rock or two on a cord, then drilling is the method for you. It creates a very clean, minimalistic, and modern look.
However, drilling is easier said than done. If you want to drill, you’ll need a high-speed drill tipped with diamond to make a smooth hole through the stone.
If that doesn’t sound like something you have, then wrapping may be the best option.
Chunky or Flat Stone?
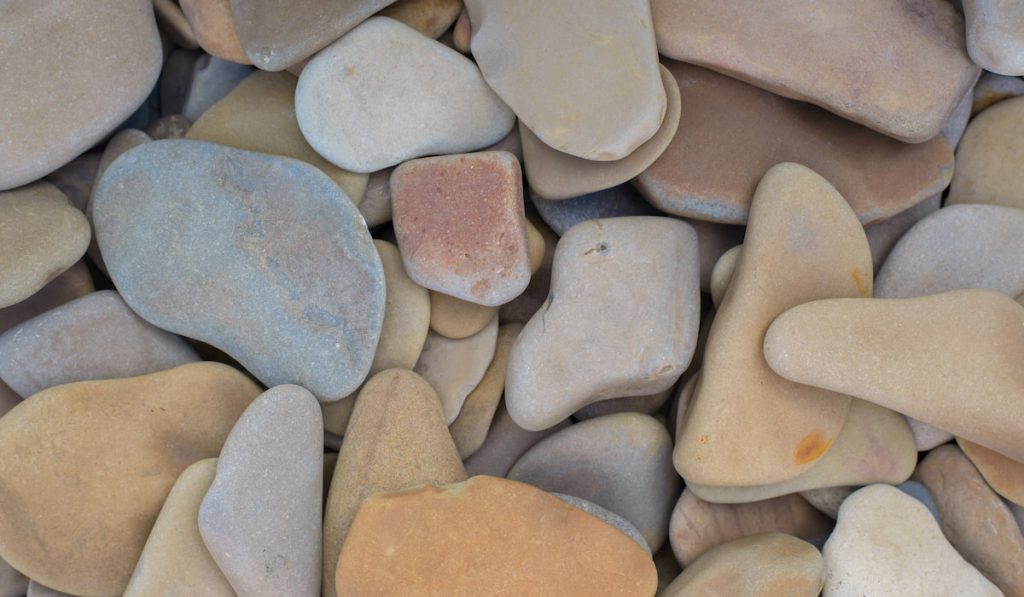
Flat stones are usually the easiest to use. They are typically thinner, which makes drilling and wrapping much easier. It’s also less likely to slide off.
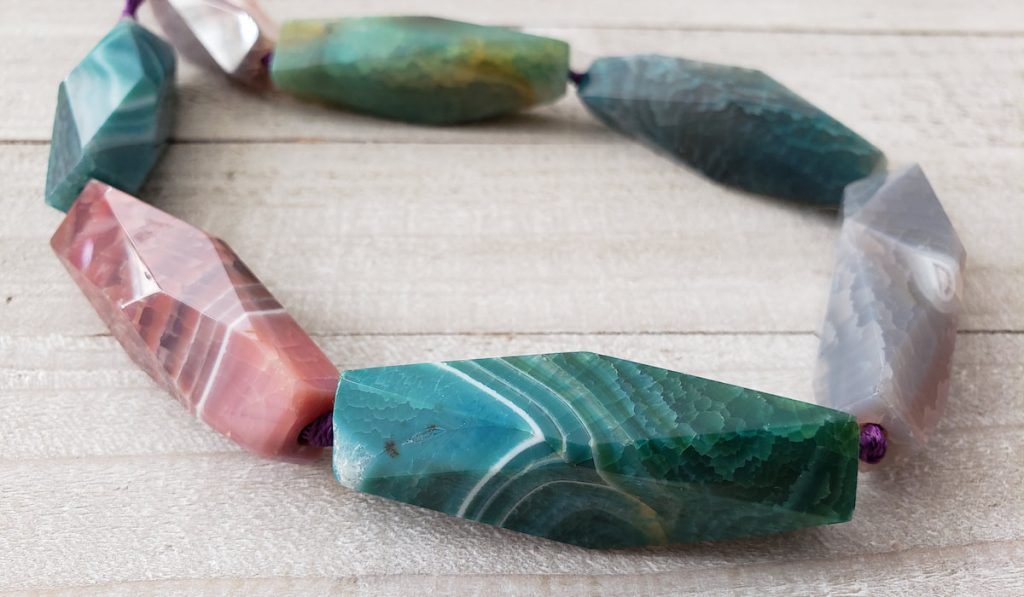
However, chunky stones can be a striking choice. They can create levels, depth, and volume to the jewelry that flat stones cannot.
If you’re new to jewelry making, we suggest the flat stone, but if you’re up for a challenge, go for the chunky!
Painted or Unpainted?
Perhaps you chose your stone not for the colors but for the remarkable shape! If so, painting is for you. You can successfully paint stones with nail polish and regular paints found at any craft store.
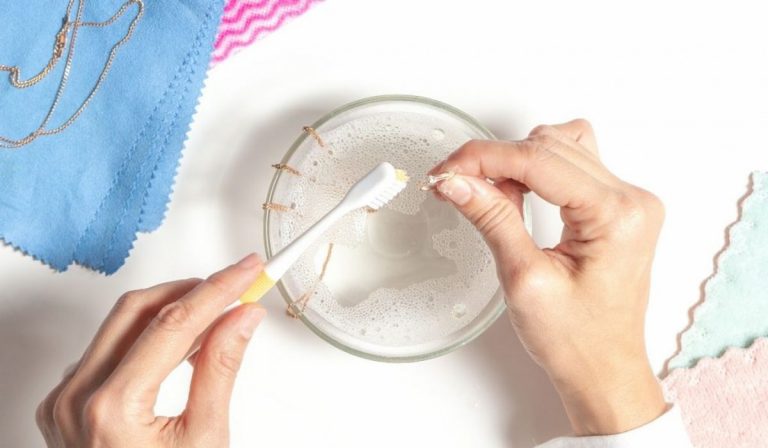
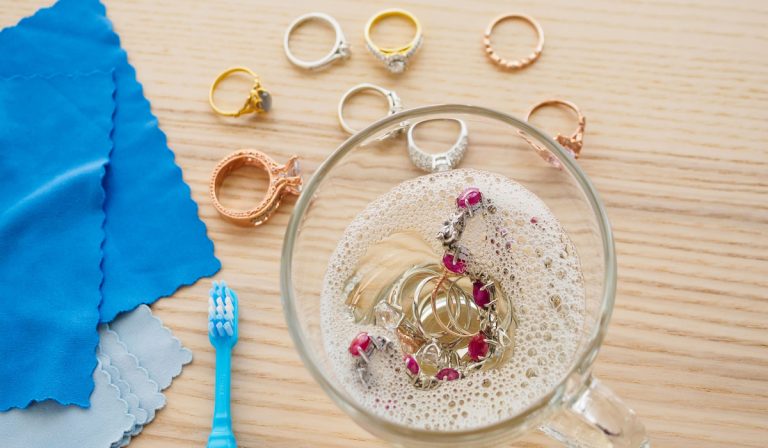
We suggest painting after drilling to avoid any paint chipping from the drill. Just make sure you wash your stone in warm soapy water before painting to remove any dirt or oils and ensure your stone is completely dry before assembling your piece.
However, if you love the natural design of your stone, don’t paint it! The next section will give you options for how to enhance your stone while still giving its natural beauty the chance to shine.
Shiny or Natural?
If you desire to create a polished look for your stone, there are some simple at-home ways to accomplish this without getting some fancy expensive rock polisher.
One way is using clear nail polish and acrylic sealer. This will give your stone the same glossy look your nails get!
You can also soak your stone in vegetable oil to give it a sleek appearance and enhance the natural colors of the stone.
But if you just want an all-natural, woke-up-like-this stone, then, by all means, leave it and all of its natural beauty the way it was! Just make sure you wash it in warm soapy water before wearing it.
Stone-Setting Methods
All right, your stone is prepped! You’ve chosen what type of stone, which side you’ll use, whether to drill or to wrap, and whether to paint or to gloss. Now, let’s talk about design options to get you started!
Drilled
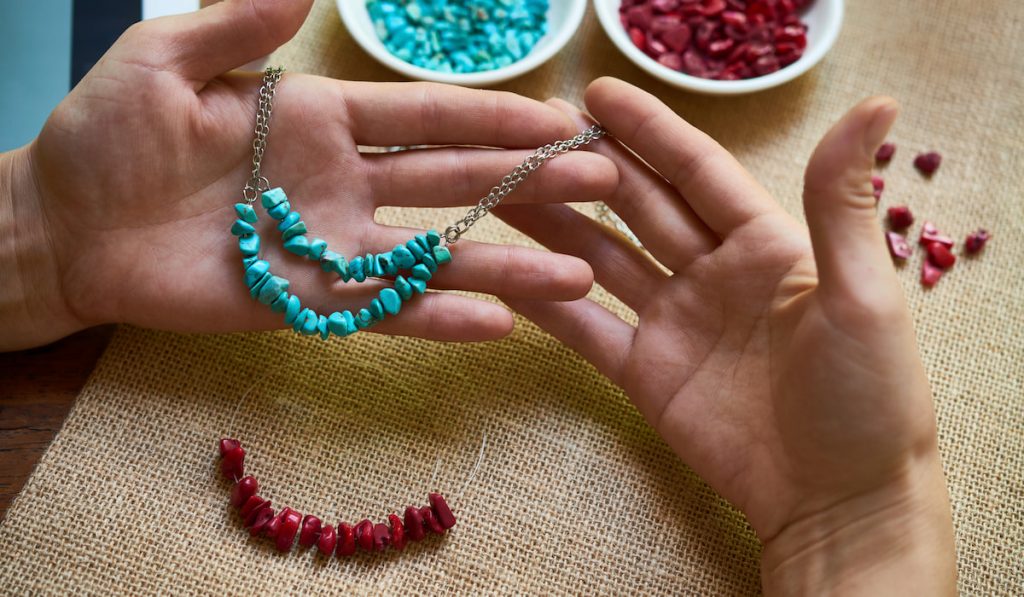
Drilling stones can create very clean-cut lines. For a necklace, you can choose a cord or chain and slip the stone through to create a simplistic necklace fashion statement.
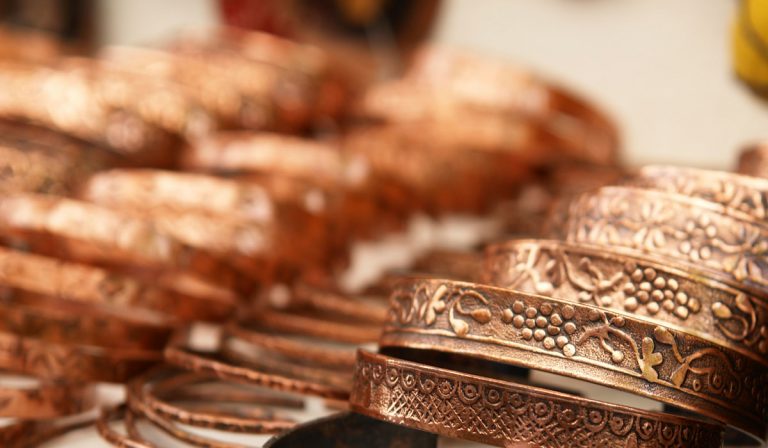
For a bracelet or anklet, you can drill a hole in the top and bottom end of the stone. Then, loop your chosen bracelet material through the holes and secure it to create a chic bracelet.
You can use wire, loop it through and twist it back along the wire, cord and tie knots, or chain and lock a link around the stone’s hole.
For earrings, loop the wire or metal through the hole and twist it to stay securely in place. Now you have a pair of beautiful, natural stone, dangly earrings!
Wire-Wrapped
Wire-wrapped stone designs are less clean-cut but have their own type of intricate, detailed beauty.
There are so many different styles to choose from– which is never a bad thing!
Flat Stones
For flat stones, the trick when wrapping is to get them to stay in place. Flat stones are prone to slipping out of the wire. To combat this, wrap the wire less precisely the beginning two or three times to keep it firmly in place.
Then, proceed to wrap tightly in the desired way until you have wrapped a total of five or six times. Finally, take the opposite end of the wire and unwrap the loose parts, leaving a tight, secure wrap on your stone.
Chunky Stones
The issue with chunky stones is not wrapping tightly enough due to the weird, unsymmetrical angles. This results in your stone falling out of the wire. The best way to avoid this issue is to make a sort of woven net around the stone to keep it in place.
First, take at least three pieces of wire. Twist them together at the center to make a tight middle with three wires coming out from either side. Place your chunky stones below the center.
Then, take the wires and bring them to the opposite end of the stone like a net encapsulating the stone in the process. In whichever way you desire, twist and weave the wires between each other to tightly secure the stone in place.
Adding Designs
When twisting the wires around the stones, this is your opportunity to create unique details and styles that will add design, heightening the beauty and elegance of your piece.
You can create coils wrapping the wire around a pencil or add beads and twist them in place for a colorful addition!
If you get really artsy and creative, you can twist the wires into shapes like the Yin and Yang or a turtle! Experiment on your own or find tutorials online to create these intricate designs.
Just a word of advice that these designs are displayed most prominently on flat stones as opposed to chunky. Flat stones provide a solid background surface to work on and show your art to others.
Design is Done!
Once you are satisfied with the design, you can finish the piece! With wire, we caution turning it into a necklace. This will most likely be uncomfortable and get caught in your hair or on your skin, which can be painful!
Instead, use it as a bracelet, anklet, or ring. For bracelets and anklets, ensure there is excess wire at one end or a place to twist new wire into the wire already on your stone. With one side connected to an end of the stone, place the stone on your wrist or ankle and wrap the wire around to the other side.
Then, twist it into the existing wire and connect it. You can do two or more wires at either end, connecting each loose end to the opposite side of the stone and create two or three bands for your bracelet. This will be more secure and more stylish!
For a ring, simply repeat the same process but around your finger. Again, you may want to twist the band’s wire together for a more robust band to ensure the stone stays at the top of your finger.
Final Thoughts
Designing and creating jewelry with natural stones is a fantastic way to remind people to appreciate the everyday beauty that surrounds us that we so often overlook.
Start looking for eye-catching stones around you and start building your jewelry today!