How to Set Stones in Metal (11 Tips and Guide!)
Jewelry has existed for over 25,000 years back to when people were wearing fish spine necklaces in what is now known as Monaco. The artistry and look have evolved exponentially since then.
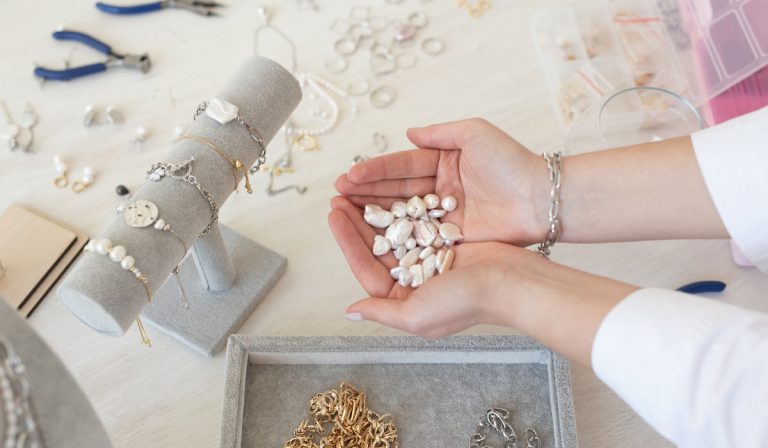
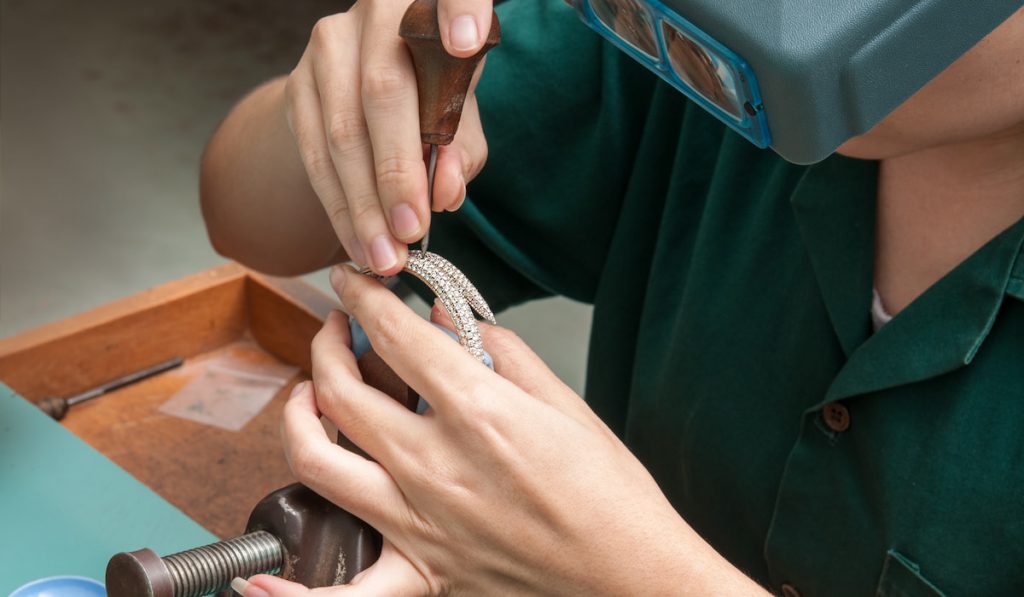
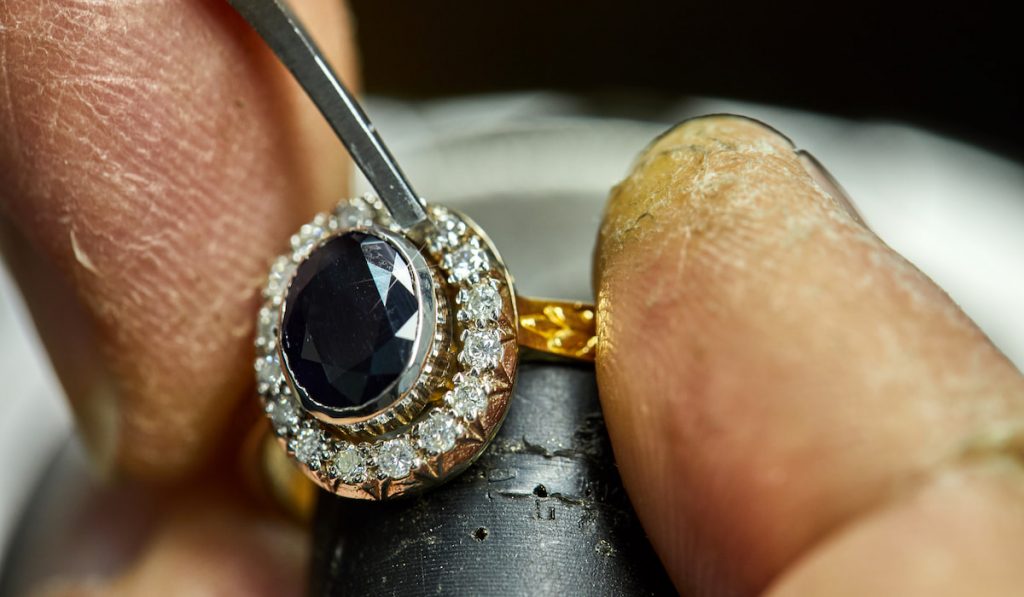
One of the most well-known and universal styles of goldsmithing is stone setting, which allows a gem to be presented in an attractive casing made of precious metals.
As the do-it-yourself craze sweeps through most western households, we are in a unique position nowadays to try out skills that a few generations ago would have required a degree or apprenticeship.
With a bit of elbow grease and some brief insight into the process of stone setting, you’re on your way to adding another knowledge notch to the old brain belt.
11 Tips For Stone Setting
1. Start Modestly
While doing research for this article I have seen just how impressive some of the craftsmanship in stone-setting is, but they didn’t manage it their first day of metalsmithing.
I highly recommend for anyone new to this hobby that they start with snap-in settings and work towards the more elaborate techniques like tension setting.
The same goes for tools of the trade, get the essentials before you start purchasing the more advanced tools.
2. Bezel or Prong Is Best for Beginners
Depending on who you ask, there seems to be a mild debate over which setting is easiest for beginners.
Whatever the case may be, once you feel comfortable with snap-ins you can move to bezels with their cups that allow a very easy gem insertion.
Alternatively, a pair of flat-nosed or chain-nosed pliers can probably do most of the legwork for an easy mount prong setting, if that fits your taste better.
3. Don’t Use Excess Force on the Stone
Chances are if you are dealing in jewelry making then you are probably regularly handling very expensive stones on a regular basis.
I have seen countless disclaimers over several different articles about the dangers of a momentary lapse in common sense.
You push too hard for a split second as you get frustrated and get the auditory response of an amethyst cracking. Most high-grade gems are financially comparable to a month in a Manhattan apartment, please be careful.
4. When Working With Valuable Gemstones, Keep a “Safety Net” Underneath Your Workstation
The term needle in a haystack comes to mind. The last thing you want is a valuable emerald falling into the dense clutches of your dark green shag carpet.
Keep a tray or vastly different colored sheet or netting that can catch escaped minerals before they get beyond where you can find them. This will save you a lot of headaches down the road and it costs almost nothing to prepare.
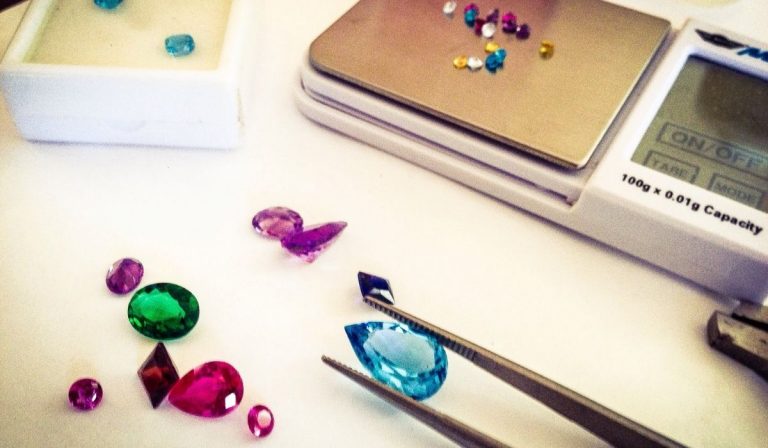
5. Check That the Gemstone Can Handle the Setting
This is especially important for the durability of a mineral.
For instance, when using a tension setting with a gemstone on the lower end of the Moh’s hardness scale, it is much more likely to break than actually ever set into place correctly.
Check the recommended hardness when trying out a new setting style and refer to the Moh’s hardness scale before deciding on a gemstone for a certain method of stone-setting.
6. For Metal Cutting, Keep a Trap for Metal Shavings or “Lemal”
When you do become slightly more advanced in stone setting you will inevitably have to start shaping precious metals.
Losing the shavings is similar to opening your wallet and letting the bills fall into the garbage, you can absolutely sell the scraps and should.
This can be as simple as a large plastic container with an opening big enough to fit both of your hands in or simply doing the process over something to catch the excess shavings!
7. Always Get the Setting to Clamp the Gemstone at Its “Girdle”
When clamping down on your gemstone, regardless of the type of setting, you want it to be clamped at its widest point or its girdle. This is universal and keeps it from popping out down the road.
Many metal casings will have a small indent in the setting to allow the girdle to fit seamlessly and, to that casual observer, effortlessly.
8. Don’t Let the Culet Peak Through the Bottom
When deciding how far down to put a gem into a piece of jewelry, it is largely up to the personal taste of the person setting the stone. With this being said, you do not want to place it so low into the piece that the culet (the bottom point of a gem) is peaking through.
If you want to play it safe, a good rule of thumb is to go a third of the way down the pavilion (the V-shape of a gem between the culet and girdle) starting from the girdle. This will leave two-thirds of it covered, including the culet.
9. If a Gemstone Will Not Set Correctly, Ease the Prongs Back to Allow More Access
This falls into the same category as number 3 and is more specific to a prong or claw setting.
If you cannot easily get a gem into place, don’t force it. Instead, push back the prongs to allow easier access for the girdle to fall into the indent of your claws.
You can always push the prongs back, but you cannot easily fix a damaged gemstone.
10. Toothbrushes Are Ideal for Excess Shavings on Your Mount
This might seem like an afterthought for most, but when you are shaving down the metal of your mount, it will eventually have a small collection of shavings sprinkled over everything.
A household toothbrush can work wonders in cleaning these shavings off before you make the mistake of trapping them between your gemstone and mount.
11. When Using Cutters to Trim a Mount, Check Gem Durability
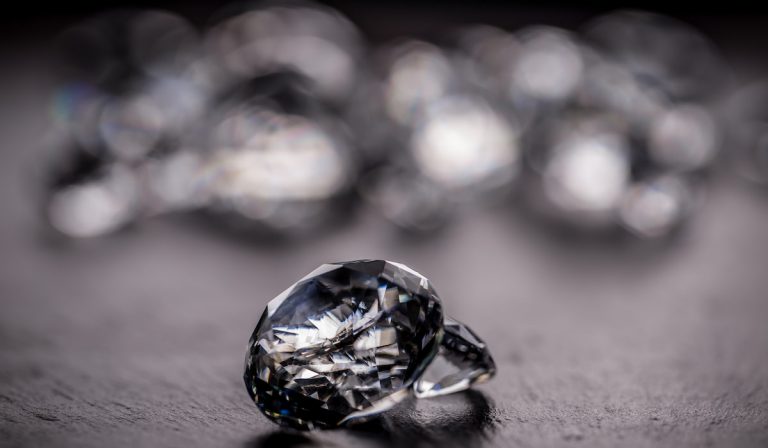
The trauma of a fit gem that is feeling the shock of a cutter trimming the metal around it can cause it to crack or scratch. When trimming down something like a prong setting claw, make sure you are using a more resilient gem like a diamond or ruby.
A more soft gemstone like turquoise or amber may not withstand the trauma as well. This is especially frustrating considering that by this point you would be in the final stages of stone setting.
Stone Setting Guide
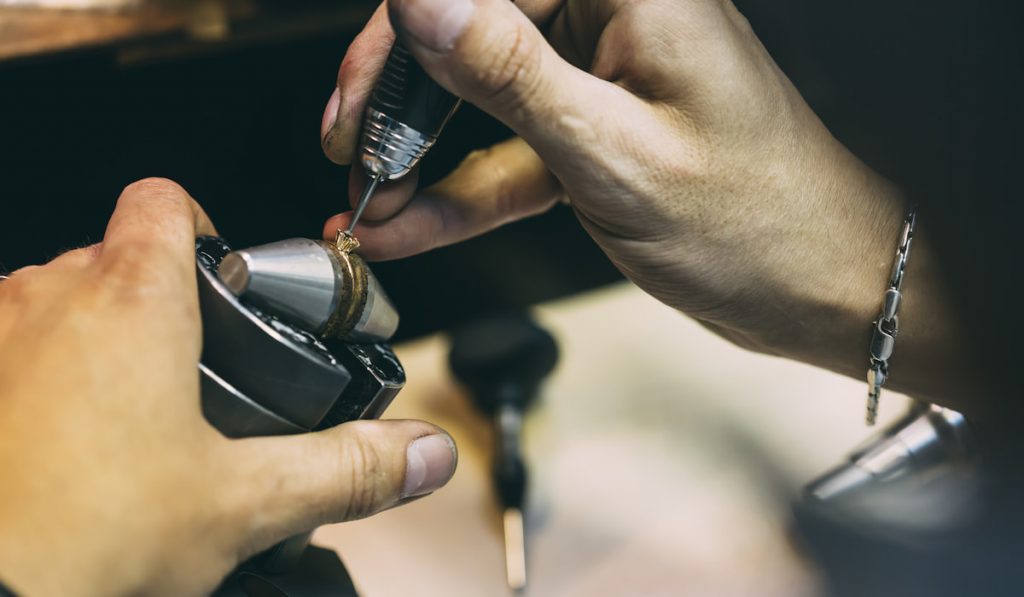
For this guide, we will be doing an easier prong setting. I would recommend an easy mount that is measured to the same size as your gemstone of choice and pre-indented. If you are looking for more of a personal touch, feel free to use a burr to indent the setting yourself.
For this setting, I recommend a pair of chain-nose pliers, a burr if your setting is not pre-indented, a toothbrush, and ideally prong cutters (Though not explicitly required, they should only be used on harder gemstones).
- If your setting is not pre-indented, then go ahead and use your burr to create an indent in all four prongs. If the burr is not big enough, gently move it side to side in between the prongs until all four are evenly indented and have about ⅖’s of their bulk removed.
- Using your toothbrush, wipe off any excess shavings before fitting your gemstone.
- Rest your gemstone between the four prongs until the girdle is comfortably held by all four prongs. If it does not fit, do not force it. Using your chain-nose pliers, grip the prongs and pull them back until the gem does fit into the indents snugly.
- With your gemstone inside your prongs, using your pliers grip two parallel prongs and gently pull them over the gem. If one side is not pulling as well you can twist the prongs upwards to better maneuver that side.
- Continue this until each prong is gripping over the girdle of the diamond.
- If there is an excess of prong over your gemstone you can use your prong cutters to rid the excess metal. (Make sure the prongs still grip the girdle, you do not want to go too low. Do not do this for softer gems.)
Congratulations, you are now a jeweler! If you enjoyed this style of setting then I definitely encourage you to give the bezel setting a try as well, as it is another easy-to-learn style for newer stone setters.
Conclusion
Whether you are interested in starting something to get a little money on the side, are looking for a new career entirely, or just don’t want to pay the prices of a local jeweler, stone setting is a valuable tool to have at your disposal.
So stop spending an arm and a leg for a ring someone paid half the price for when you can do it from the comfort of your home!