How to Make Horsehair Bracelets (Find Out!)
Horsehair bracelets are one of many functional, decorative items people make with horsehair. They date back many years, to the time when horses were the main mode of transport.
These days, horsehair bracelets serve many functions. From being a great gift idea for special occasions to being a sentimental keepsake to honor your horse, there’s so much you can do with them.
If you are big on the sentimental value of your horsehair bracelet, you should make it yourself. Don’t worry if you have no idea how to go about it. We’ll show you how to make horsehair bracelets below.
How to Make Horsehair Bracelets
What You Need
To make horsehair bracelets, you need the following items:
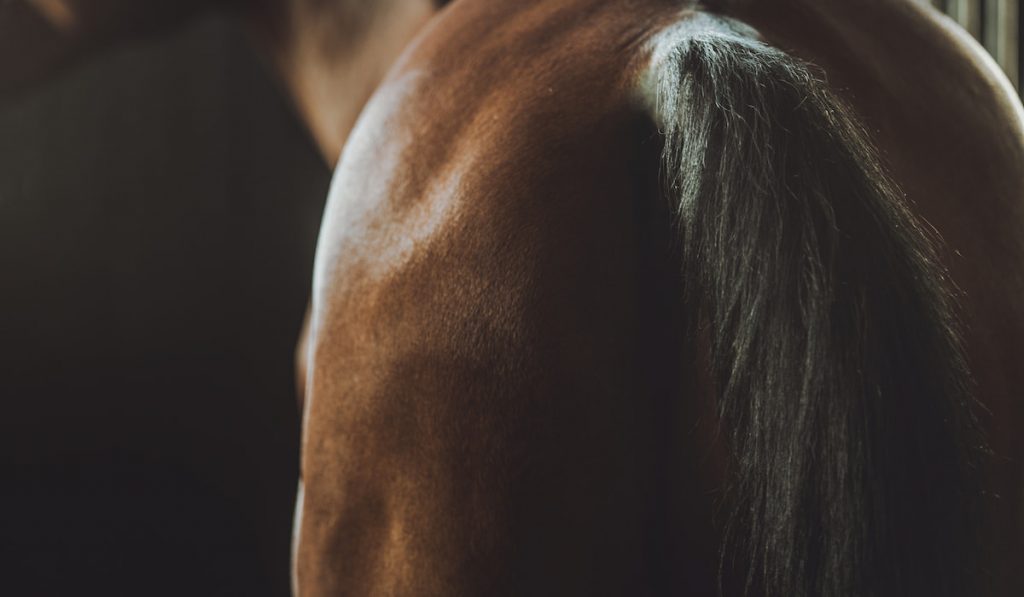
- Of course, you need horsehair. To make horsehair bracelets, you need hair that is sufficiently long. To get such hair from your horse, cut hair from the upper section of the tail (the dock). You can get long enough pieces without leaving much of a trace by cutting hair from the tip of the dock.
- Get some jewelry findings with crimp clasps (fold over clasps) for the ends of the bracelets. You can get some at a crafts store. Opt for those used for leather cords so that they will be large enough to hold enough horsehair.
- Matching thread – get a thick thread (such as carpet thread) in a color that matches, or is close to, the color of the horsehair. Fine embroidery thread will not work.
- White superglue
- Scissors
- An elastic hair tie
- Pliers
- Hair spray or spray varnish
9 Steps to Make Horsehair Bracelets
Step 1: Collect the Horsehair
As we mentioned before, collect horsehair from the tail dock. Cut sections of hair about a pencil’s thickness each time.
When you have enough hair, hold them together with the elastic hair tie.
If you have horses with various colors, you can combine hairs from each one and make a pattern.
Step 2: Wash the Horsehair

After securing the hair with the elastic hair tie, wash it with shampoo. Do not wash the hair with conditioner as it may make the hair too slick.
While washing the hair, try to remove broken or short hairs, and discard them.
After washing with shampoo, rinse thoroughly. You can repeat the washing and rinsing process three times for thoroughness.
When done with the washing and rinsing cycle, let the hair dry on its own. Ensure the hair dries very well, so mold does not form in it later.
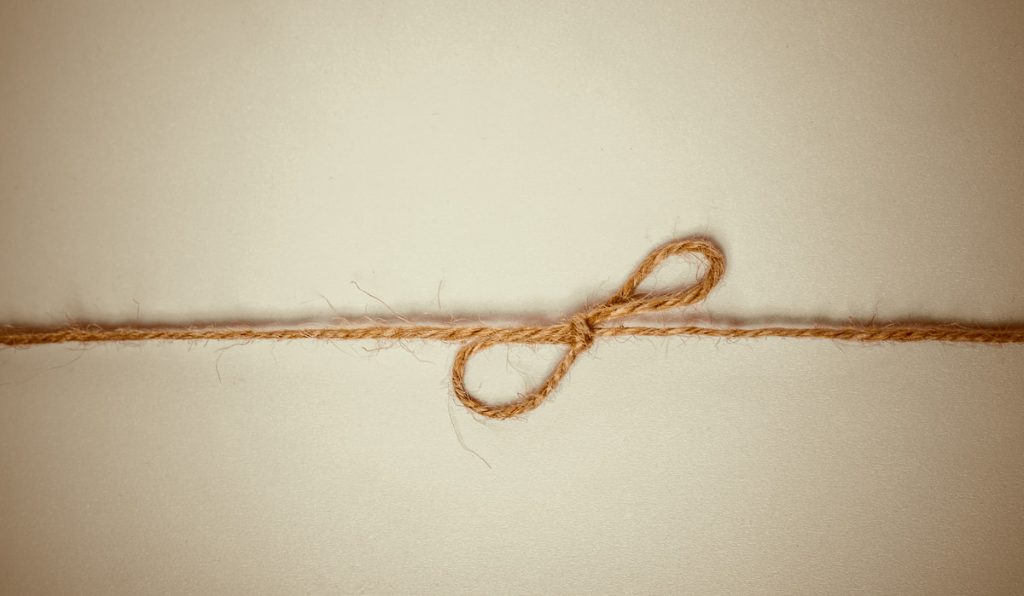
Step 3: Wind the Carpet Thread Around the End of the Band of Hair
Take some of the carpet thread and wind it around the end of the hair about 4 to 5 times. After doing this, tie the thread. Check that it will fit into the clasp. Then add glue to the thread so that it sticks to the hair. Allow the glued end to dry.
When dry, trim this end of the hair as close to the carpet thread as possible so it will be easy to fit into the clasp of the jewelry finding.
Note: when adding glue to the thread, do not use too much glue. If you do, the hair may not fit into the clasps.
Step 4: Attach the End of the Hair Bound With Thread to a Finding
Apply a drop of glue in the clasp of the jewelry finding. Then press the hair into the clasp and squeeze the clasp shut with the pliers.
Remove the elastic hair tie before moving to the next step.
Step 5: Anchor the Finding to Keep the Hair Steady While You Braid
Anchor the finding to something sturdy, so the hair will remain tight while you braid. Doing this will ensure that the braid will be well-formed.
To do this, tie a piece of carpet thread to the finding. Then tie the other end of the thread to a doorknob or cabinet door.
Or, you can just hold the finding down with tape.
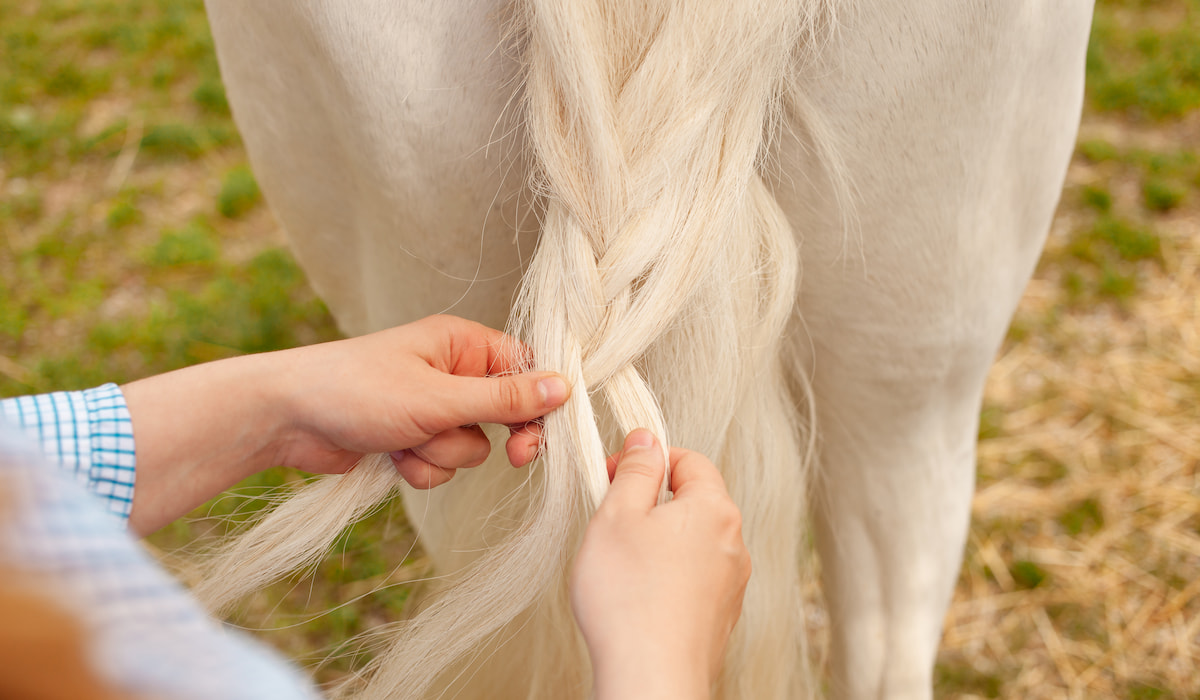
Step 6: Braid the Hair
With the jewelry finding held down, you can now braid the hair.
You can choose to make an easy 3-strand braid. But if you are up for it, you can braid with 4 strands, 6 strands, or more.
While braiding, keep the hair taut but not too taut. If the tension in the hair is too much, the braid may kink.
As you braid, measure the length of your wrist with the braided hair. Alternatively, you can measure your wrist with a ruler before you start braiding.
Braid the hair 1 inch longer than the circumference of your wrist. If you are making the bracelet as a gift, do the same but use your recipient’s wrist length. The extra 1 inch will make tying the loose end easy for you.
Step 7: Tie the Loose Ends (The End Without a Finding)
Tie the loose ends of the braid with carpet thread as you did in step 3. Then add some glue to it and leave it to dry.
Step 8: Trim Stray Hair
If there are any stray hairs in the braid, trim them with scissors. Also, trim the excess hair below the carpet thread as close to the carpet thread as possible.
Step 9: Attach a Crimp Clasp to the Second End
Attach a clasp to the other end of the hair as you did in step 4.
Then connect both findings, and you have your bracelet!
You can apply some hair spray to the horsehair bracelet to make it shine and stick together better.