How to Set a Stone in a Prong Setting? (All You Need to Know)
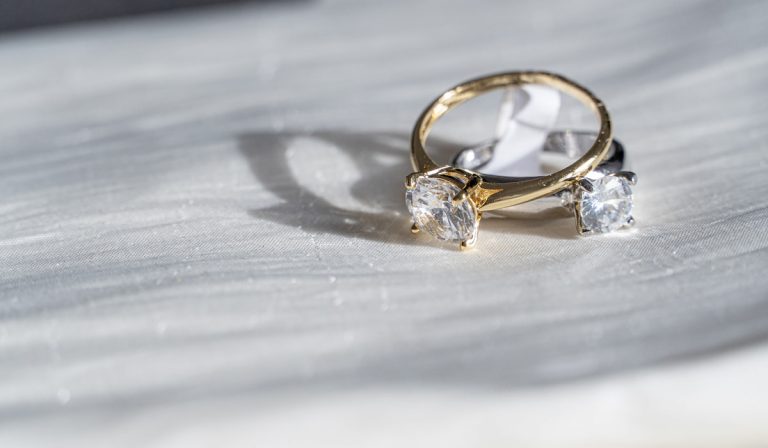
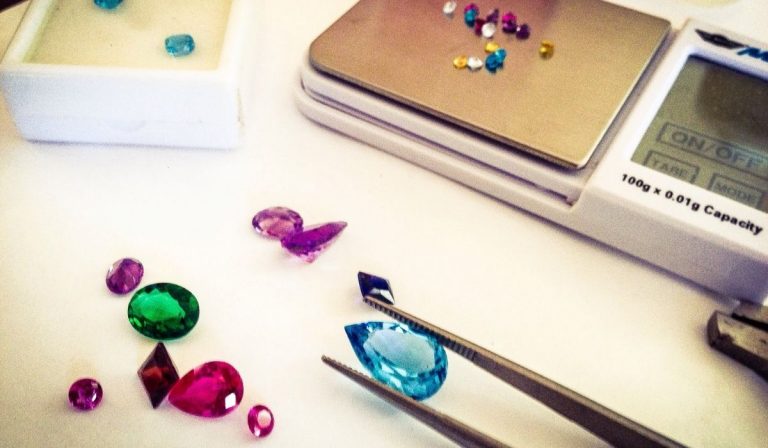
A prong setting is an excellent way to show most of your engagement stones since they take up little room on your ring.
Prong settings usually have four or six metal prongs extending over the stone from the ring’s basket. They help secure the gemstone and also increase its exposure to light.
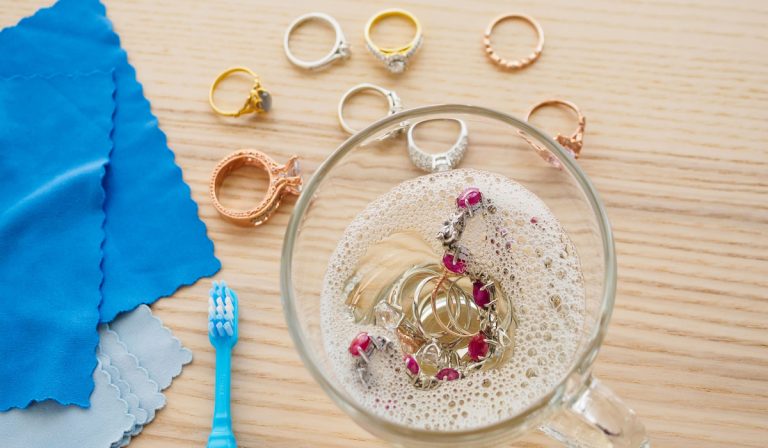
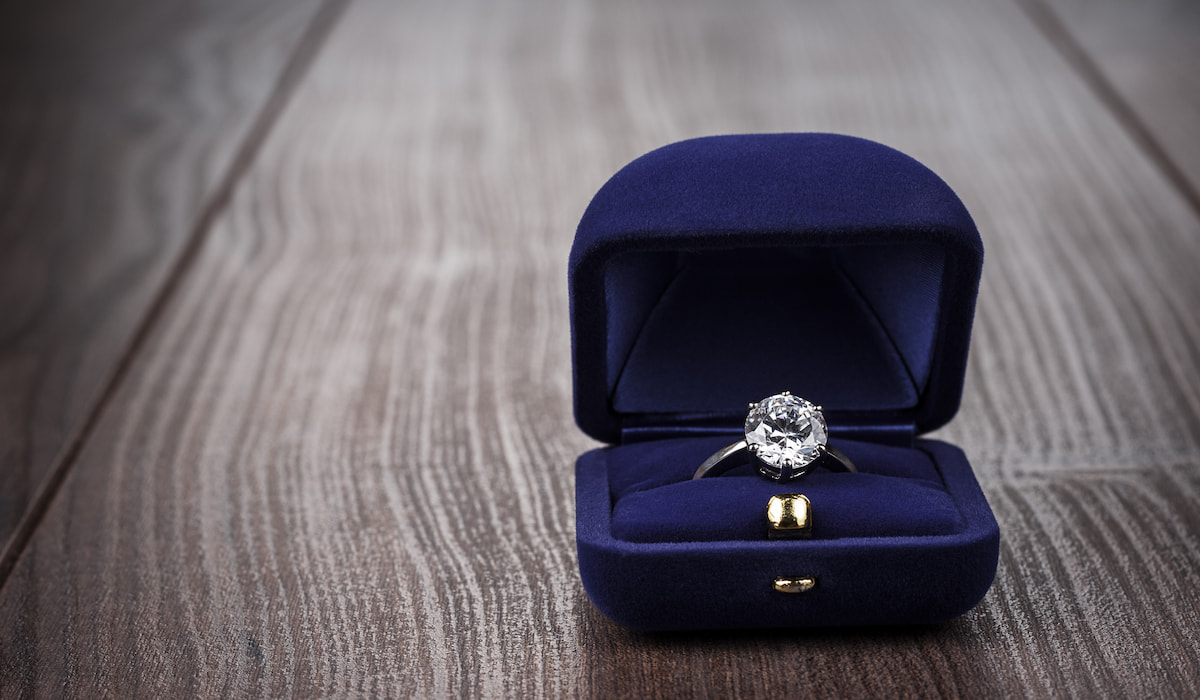
Prong settings are popular due to their timeless and classic look. Besides, their small shape makes cleaning your stone a simple task.
If you are new to setting gemstones in a prong setting, you probably need guidance on how to go about it. Lucky for you, we provide a step-by-step explanation of how to set a stone in a prong setting in this article.
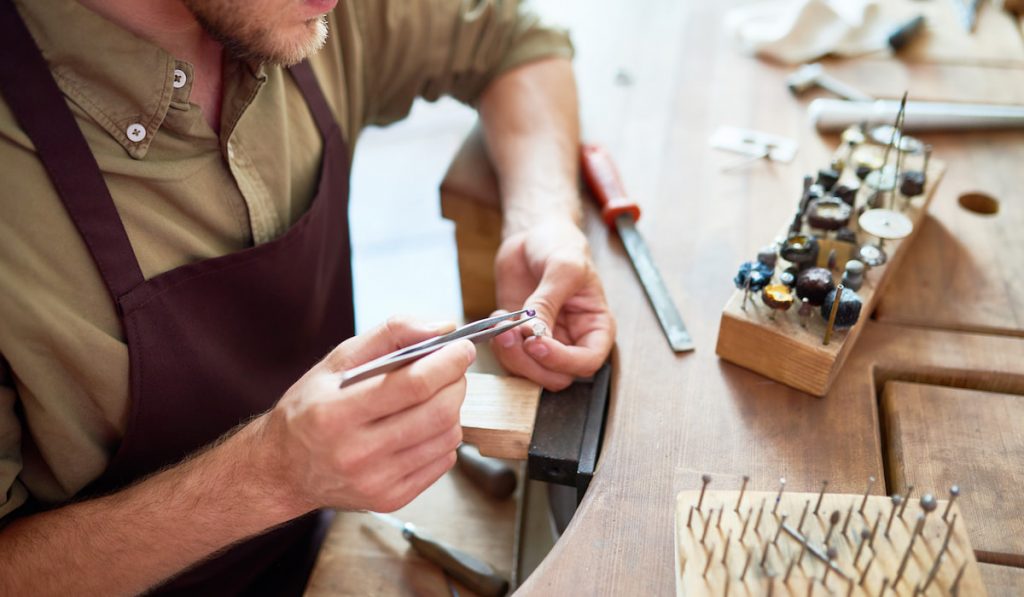
1. Hold the Stone in a Secure Position
Holding the stone in a secure position is essential. It makes the prong setting process easy. There are several options for securing a piece including a GRS benchmate, wooden ring clamps, and ball vices like the GRS microblock.
The one you opt for depends on the type of stone you are setting.
2. Decide Where You Will Place the Stone
Once you have secured the stone, decide where the stone will sit in the setting. Several factors will influence this decision, including:
- How deep the stone’s pavilion is
- The size of the prong setting relative to the stone
- The setting style – some settings determine where the stone sits
Every stone and setting combination is different, meaning they both require separate considerations. For instance, the pavilion of a diamond is very angular, unlike that of a blue sapphire, which is more rounded. You must consider this when deciding where the stone will sit in the setting.
Once you have determined where the stone will sit, mark that point to know exactly where the seat will be cut.
3. Cut a Seat for Your Stone
Once you determine where the stone will sit, the next step is to cut a seat for it.
There are several options you can use to cut a seat. But there is no right or wrong method, provided it works and gets the job done.
The popular options for cutting a seat in a claw include ball burr, cylinder burr, setting burr and hart burr, or bearing cutter. Whichever method you choose, remember to keep test fitting the stone to ensure the seat is suitable for the stone, sitting flat and sitting square.
4. Clean and Polish the Setting
Before setting the stone, ensure you clean and polish the inside of the setting. At this point, accomplishing these steps is easy.
Cleaning the setting gives you the best finish for your prong setting, knowing full well you won’t be able to do it once you set the stone.
Cleaning the setting allows you to remove any burrs leftover on the claws. It gives the prong setting a better finish and reduces the chances of the burrs getting stuck on clothing when the piece is worn.
When you polish the interior of the setting, ensure you make it similar to the final polish of the other parts of the piece.
5. Secure the Stone In the Setting
The next step is to secure the stone in the setting, and there are several methods for doing this.
Pliers
One of the most common ways to tighten claws is using a pair of pliers. Although not everyone likes this method, it is quick and easy. When using this method, be careful not to apply too much pressure or risk breaking soft stones or even damaging the metal.
When tightening the claws with a pair of pliers, place one jaw at the bottom and the other jaw above the prong. Close the prong gently over the stone. Don’t close it too tightly to avoid pushing the stone off-center.
Reverse the position of the plier and close the opposite claw and repeat this process for the remaining prongs. Working on opposite prongs ensures your stone remains centered and positions the prongs evenly around the stone.
Always remember to check the fit of the stone to ensure it is sitting level and square. You may have to make minor adjustments to the stone’s position as you tighten the claws.
Pusher

You may also secure the stone with a pusher. To do this, push the prongs from the side just like the plier method. Then when it is time to tighten the stone, roll the pusher up to around 45 degrees to ensure you push the top of the claw over the stone.
Like the first method, try not to apply too much pressure or you may damage the stone. Work the prongs gradually over the gem until you have secured the stone in the setting.
Vector Tightening
The inability to totally secure the stone in the prongs is commonplace. But vector tightening takes care of this. It ensures your stone remains secure in the setting.
To use the vector tightening procedure, get your plier, place its jaws on the outer edges of your prongs then close them gently. You only need to move the prongs a little to bring them together. Repeat this process on the opposite prongs before returning them to their correct position.
6. Cut the Prongs
Once you have secured the stone in the setting, finish the prong setting. To do this, cut off the extra prong length. You can use a twin-cut cup burr, saw, or snips to cut the claws.
Although a saw requires a steady hand, it is very accurate. Snips are quick, but you have to be careful if you work with fragile stones. The twin-cut cup burr is fast, effective, and perfect for simple round prongs.
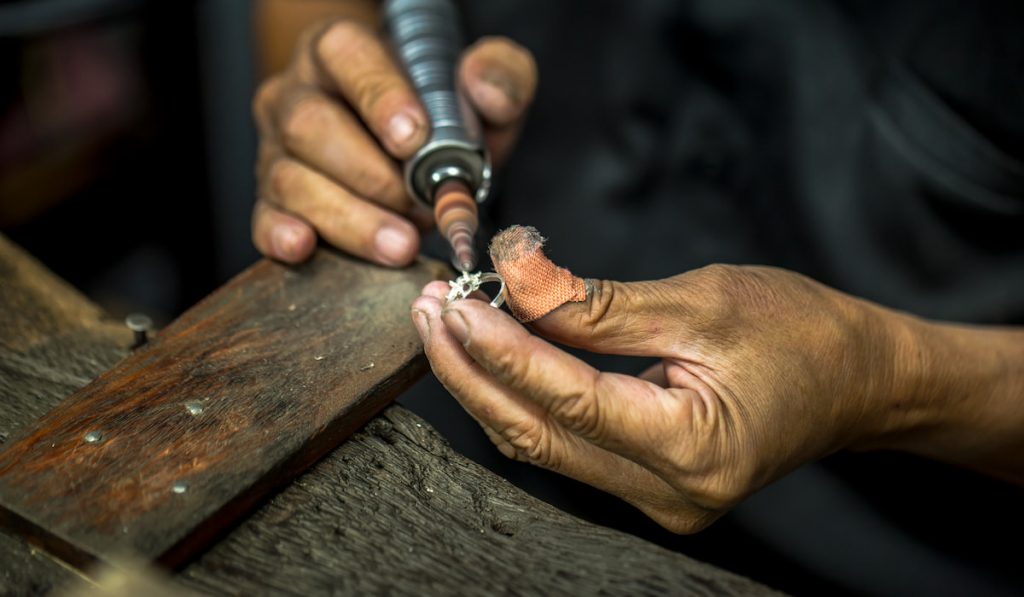
7. Shape the Prongs
Once you are done cutting the claws, finish them off to ensure they look nice and presentable. You can shape the prongs using a file or a cup burr.
The cup burr is probably the easiest and quickest way to finish a prong. You can either work with a twin cup burr or a traditional cup burr.
If you want to file the prongs into shape, use a file with a safety edge. Doing this reduces the chances of damaging the stone.
To make a rounded edge on the prong, roll the file 90 degrees during a stroke. Do this on every side of the prong, then diagonally to ensure you round off the edges of the prong.
8. Finish the Prongs
When you are done shaping your prongs, finish them before giving them the final polish.
While finishing the prong, you will remove any tool marks, excess metal and soften sharp edges. To remove tool marks, use pumice or a fine rubber wheel. Any of them allows careful smoothening of metals.
Use a fine needlepoint burnisher or sharp graver to get rid of excess metal. Ensure your hands are steady when removing excess metal, else you may scratch the gemstone.
Gently run the burnisher or graver along the inside edge of the prong, and you will notice the excess metal coming off.
Although it does not happen all the time, you may end up having sharp edges on the back of your prongs. If this happens, carefully use a fine rubber wheel to round off those sharp edges until you have a nice, smooth claw.
9. Final Polish
Now that the stone is set and the prongs are finished, you can begin the final polish.
Besides enhancing appearance, polishing exposes parts of the prong that could snag on clothing. When you notice fibers from your mop getting caught, you will need to revisit those areas.
But if no fibers get caught and your stone is sitting secure and level in the setting, you have done an excellent job.